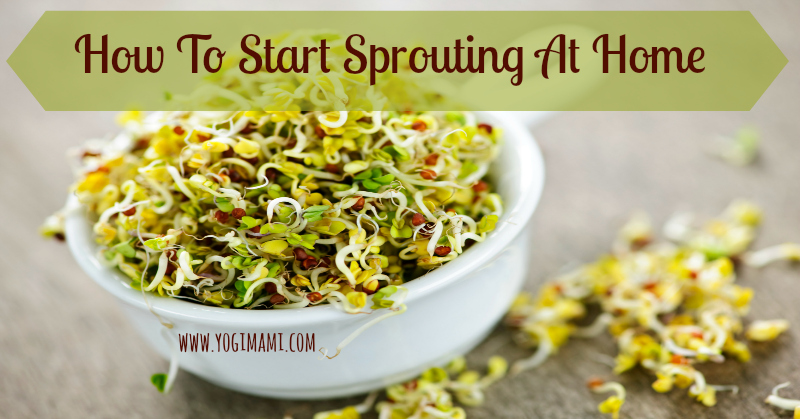
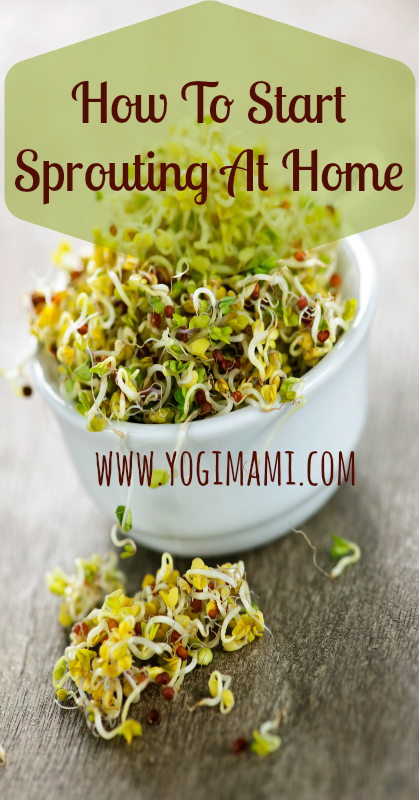
Sprouting is my new favorite addiction! I started this a few months ago and really enjoy it. My aunt has been doing it for awhile and gave me information on how I could easily grow sprouts of my own. The more I looked into this I learned that there were also a multitude of health benefits, which made it even more appealing to me. This post will share information how to make your own sprouts at home!
Why You Should Be Growing Your Own Sprouts
Sprouting is a fun, economical way to grow fresh, organic greens in your own kitchen. And it’s so easy! It only takes 2-6 days to grow your own sprouts and the variety is endless. Sprouts help to alkalize the body by providing enzymes that are essential in helping to fight cancer. Cooking food over 116 degrees kills enzymes. Because sprouts are to be consumed as a raw food they are are the perfect whole food providing alot of nutritional value.
Any edible seeds, nuts, grains legumes or beans can be soaked overnight which will cause them to swell up. This triggers the onset of the sprouting process which makes them easier to digest. The sprouts contain vital nutrients that are needed for our bodies. Sprouts supply energy which is capable of generating healthy cells in the body and supplying new vigor and life while also slowing the aging process. Processed foods lack the vitamin and minerals that are necessary for a balanced diet whereas sprouts are one of the foods that contain the highest vitamin and mineral content.
How To Make Your Own Sprouts at Home
1. You can find the seeds in the bulk section of most health food stores or you can buy online and, of course, always buy organic. You can sprout Mung Beans, Lentils, Alfalfa, Broccoli, Rye, Barley, Millet, Sunflower, Celery, Clover and more! (click links to buy online)
2. Once you have purchased your seeds take a jar and add 1-2 tablespoons of seeds, beans, grains, legumes, etc. and cover with water (only one kind of seed in a jar at a time). Place a cheesecloth, screen or nylon to cover the jar using a rubber band to secure. Or you can purchase some items a lid cover (where to buy) Let the seeds soak overnight.
3. The next day drain the water letting the jar sit at a 45 degree angle (on a dish rack is best!) and let the rest of the water drain out. After the water has drained out letting the seeds remain without any water for 8-10 hours.
4. Rinse the seeds twice a day making sure to let the water drain completely to prevent rotting/molding. After the sprouts start to grow you can place the jar next to a window to increase their chlorophyll content. Once you have determined the sprouts are ready they can be stored in the fridge.
Start Sprouting Today
Now you know how to make your own sprouts at home! Sprouting is an inexpensive, healthy way to provide nutrients for you and your family. They can be served by themselves, in sandwiches or salads. By adding this superfood to your diet you are able to provide your body with raw whole food while offering both physical and spiritual benefits. If you love sprouts like I do I urge you to try this and see just how easy it is!
Have you tried sprouting? We would love to hear your experiences!


